


I see a lot of posts in Facebook groups asking what the best workflow is for working with WordPress through MCP and using AI efficiently. So I will share my personal workflow, that has unlocked the most productivity for me when building, maintaining and troubleshooting WordPress websites.
I will show you how I load the website into Local WP to directly on my computer, connect Claude Code to it through Novamira MCP, and give it an SSH connection to the staging site.
I will walk you through the setup, you can read through the article or follow me in the video.
Step 1: Back up the live site with WP Migrate Lite
I start by pushing the application to staging. Then I install WP Migrate Lite. There are multiple ways to get the backup of your website. On some hostings, you can download it from your admin, but this one has worked for me universally across hostings.
Activate it, select New Migration, select everything that you want to export, and export. It will take a while, depending on your website size.
Before downloading, check that there aren’t any unnecessary huge backup files. I didn’t do this, and ended up downloading 10 gigabytes of data for a relatively small website. So learn from my mistakes.

Step 2: Import the backup into Local
In Local, add a new site and select Select an existing ZIP. Select the downloaded file and open it. You can leave the predefined name.

Select the PHP version, web server and database version. Ideally, select something closest to your production server, so that you have the closest one-to-one copy of your setup. Then Import site.

Step 3: Trust Local’s SSL certificate
Before I start, I set up the SSL certificate, which has always been a slightly unintuitive step in Local. I select Trust, and it always gives an error, because there’s one more step. At least for me, there always has been.
I need to open Keychain Access and find the certificate associated with this site. Click on it, and under Trust select Always Trust. Then you have to close the window for it to save. It will ask you for your password again.

Now I should be able to open the site with HTTPS without getting an error. Apparently you need to restart the browser once more after trusting the certificate. In an incognito window it works straight away. There might still be some mixed content. In my case I just needed to run a find and replace to fix the fonts not loading.
Now you can click on the site folder to get into the directory where the local site lives. VS Code is where I use Claude Code, but you can use the IDE of your choice.
Step 4: Install Novamira and turn on the abilities
With the migration finished and the local folder open in Claude Code, I install the latest version of Novamira, the MCP server for WordPress. It isn’t in the plugin repository. You always have to download it from their website, then go to Upload Plugin, install and activate it.
In Novamira’s configuration, I can safely turn on the abilities, because I’m now working on the local copy of the website.
If I were working on an e-commerce or community website with user data, I would first anonymise it in the local database. I’d recommend doing that for the compliance of your website and of your processes. On this website, there’s no user data, really.

Step 5: Connect Claude Code through the Novamira CLI
Next, set up the connection. You have multiple options. I’m using Claude Code with the Novamira CLI, which is the recommended option for working locally.
Novamira gives you a prompt to send to your AI tool. I don’t show it on the screen, because it’s always full of sensitive data. You will probably be prompted to install a skill. You can do it to take full advantage of the Novamira CLI.

Step 6: Turn on Bricks Builder’s AI abilities
This website is using Bricks Builder, so I want to take advantage of its AI abilities. For this to work, make sure that you’re on Bricks 2.4 or later, and also on the latest WordPress version. Then you can enable the abilities.

You don’t need to install the MCP server, because it’s already part of the Novamira plugin we just installed, so you can skip that part. But you may want to install the Bricks skills, so that Claude Code or your AI agent actually knows how to use the Bricks abilities. You can copy the prompt from the Skills tab.
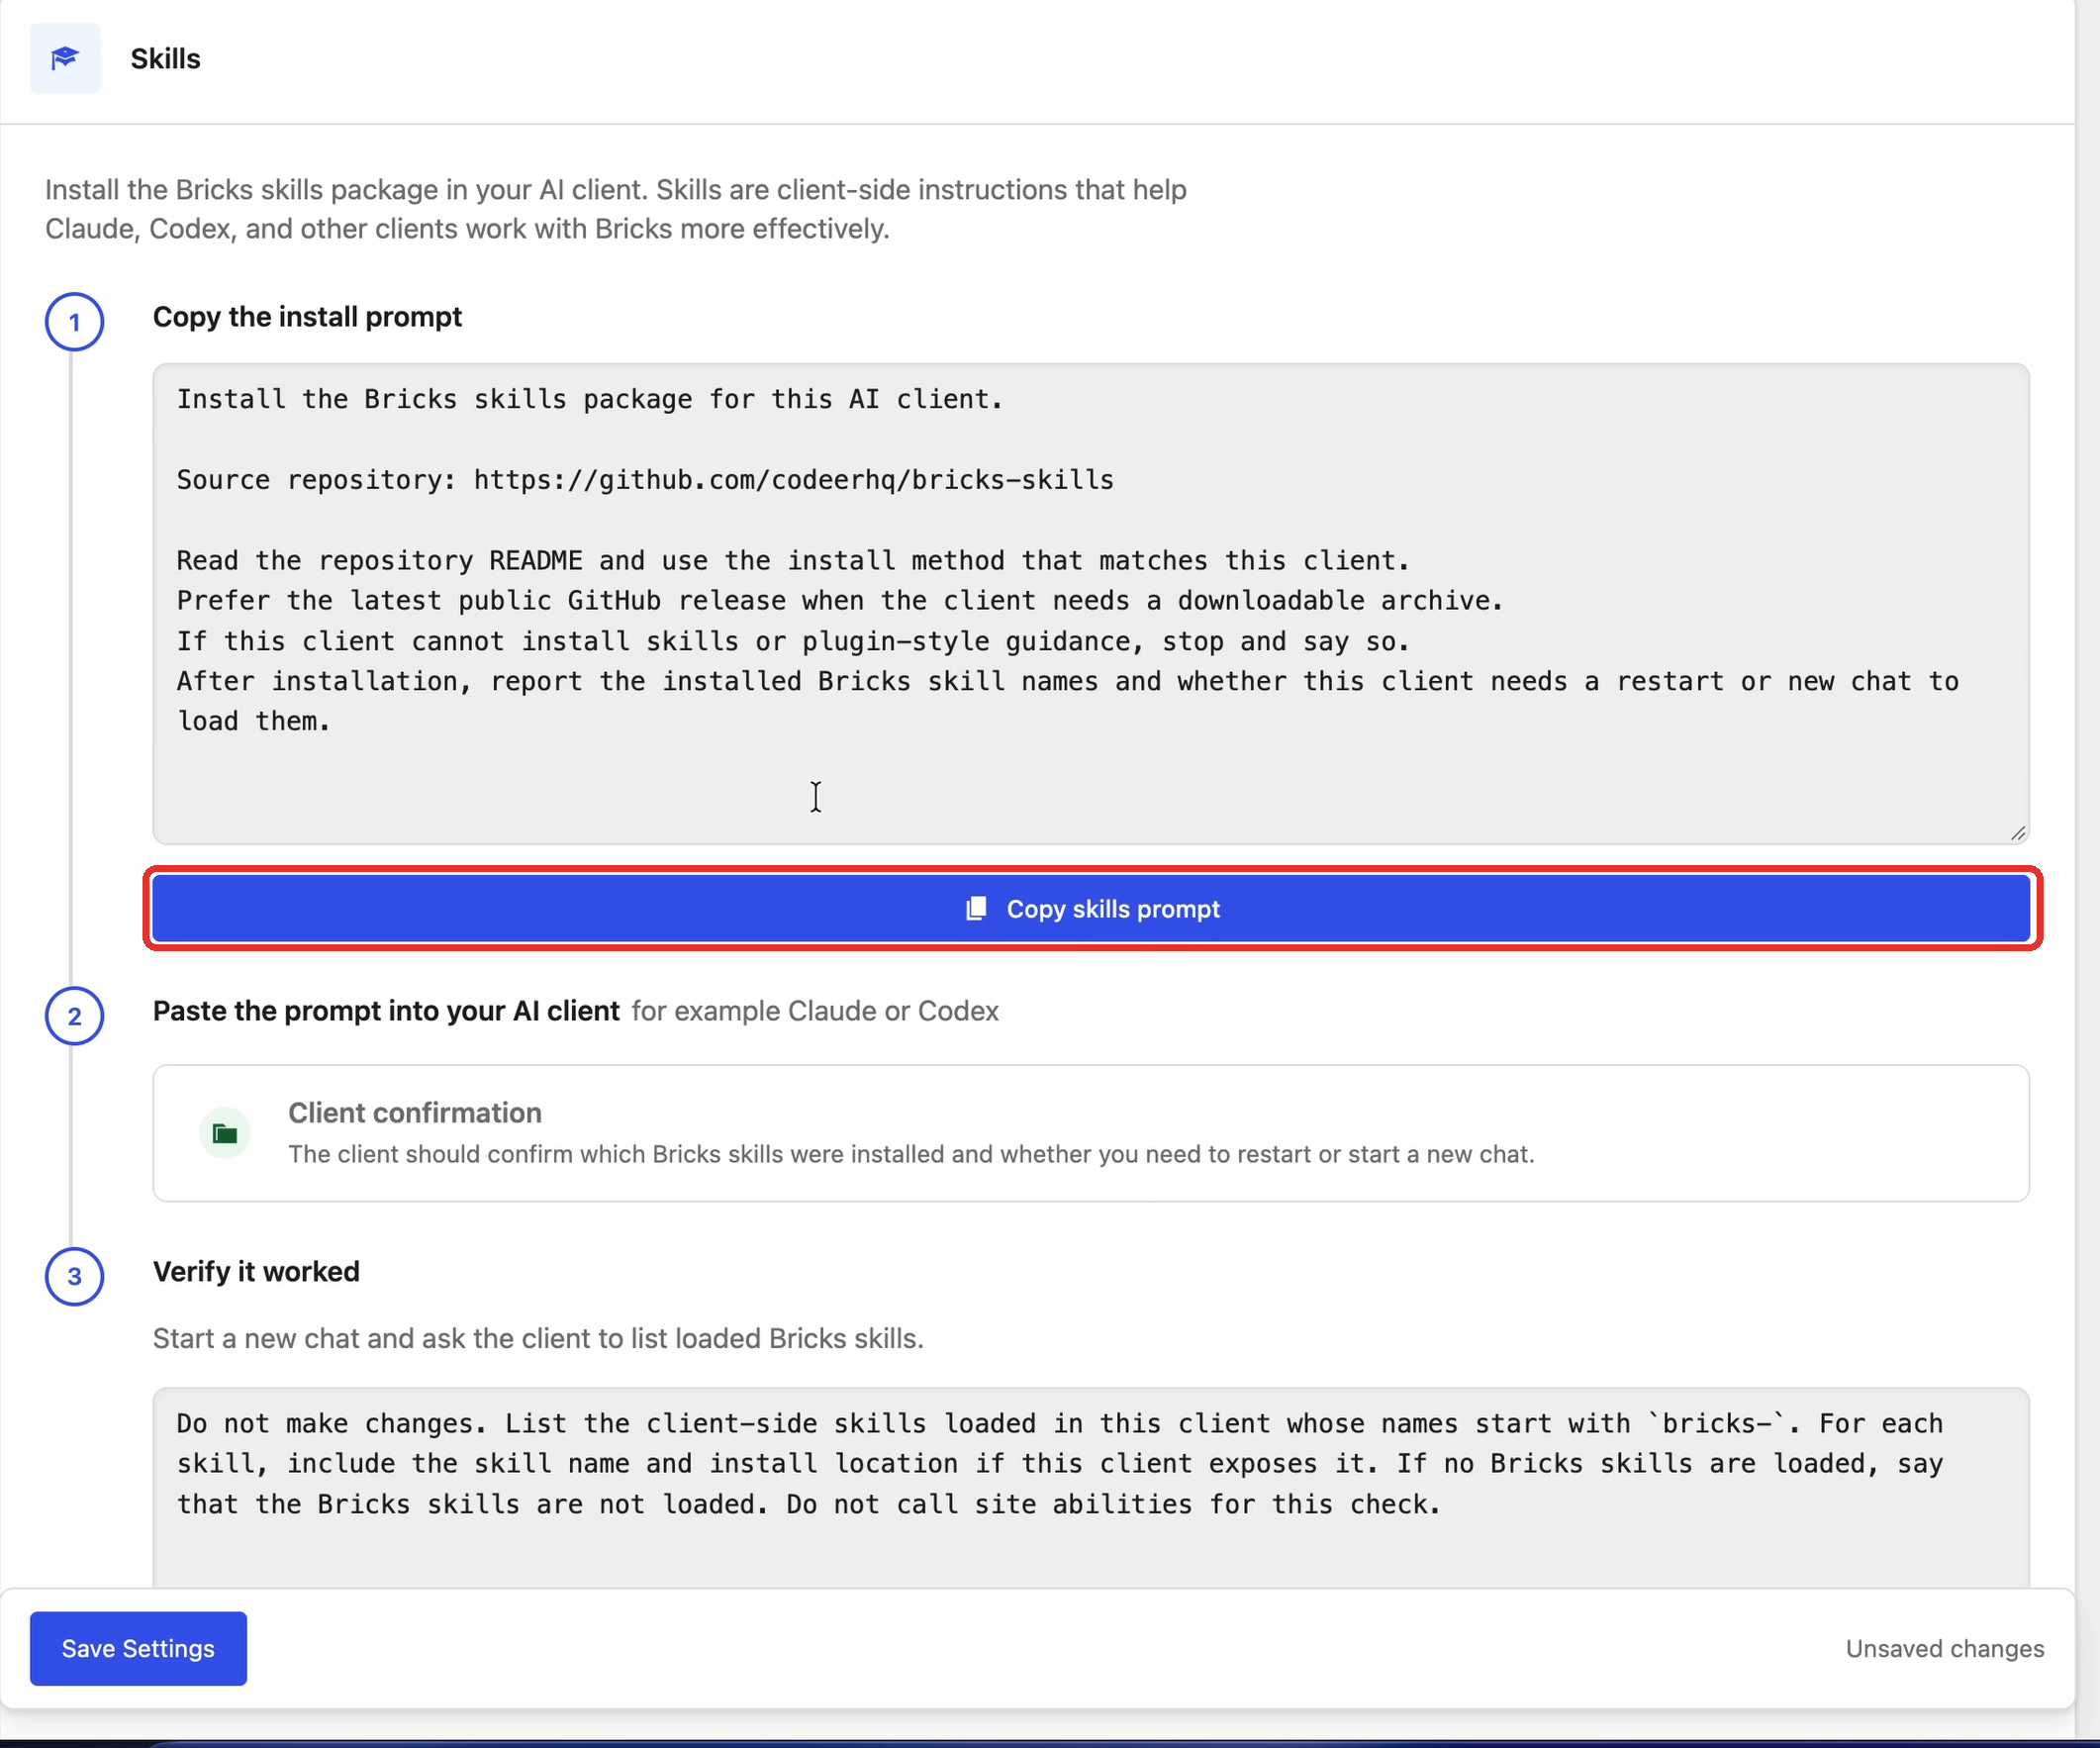
With that, we have the MCP set up.
Step 7: Connect to staging over SSH
I’d like to do one more step, so that I can also interact with the staging site, and that’s setting up the SSH connection.
For that, I let Claude Code prepare the .env file where I save the connection details safely, without them necessarily being read explicitly by the AI. I let it set the file up directly for my hosting, because different hostings have slightly different ways of letting you use SSH. You may need to set up an SSH key, but it will walk you through those instructions and the process.
This is the prompt I used:
Prepare .env file for SSH and admin credentials to the staging site.
It is running on Cloudways so prep the file accordingly.
It prepared the file, and I just had to fill in the values from my hosting dashboard.
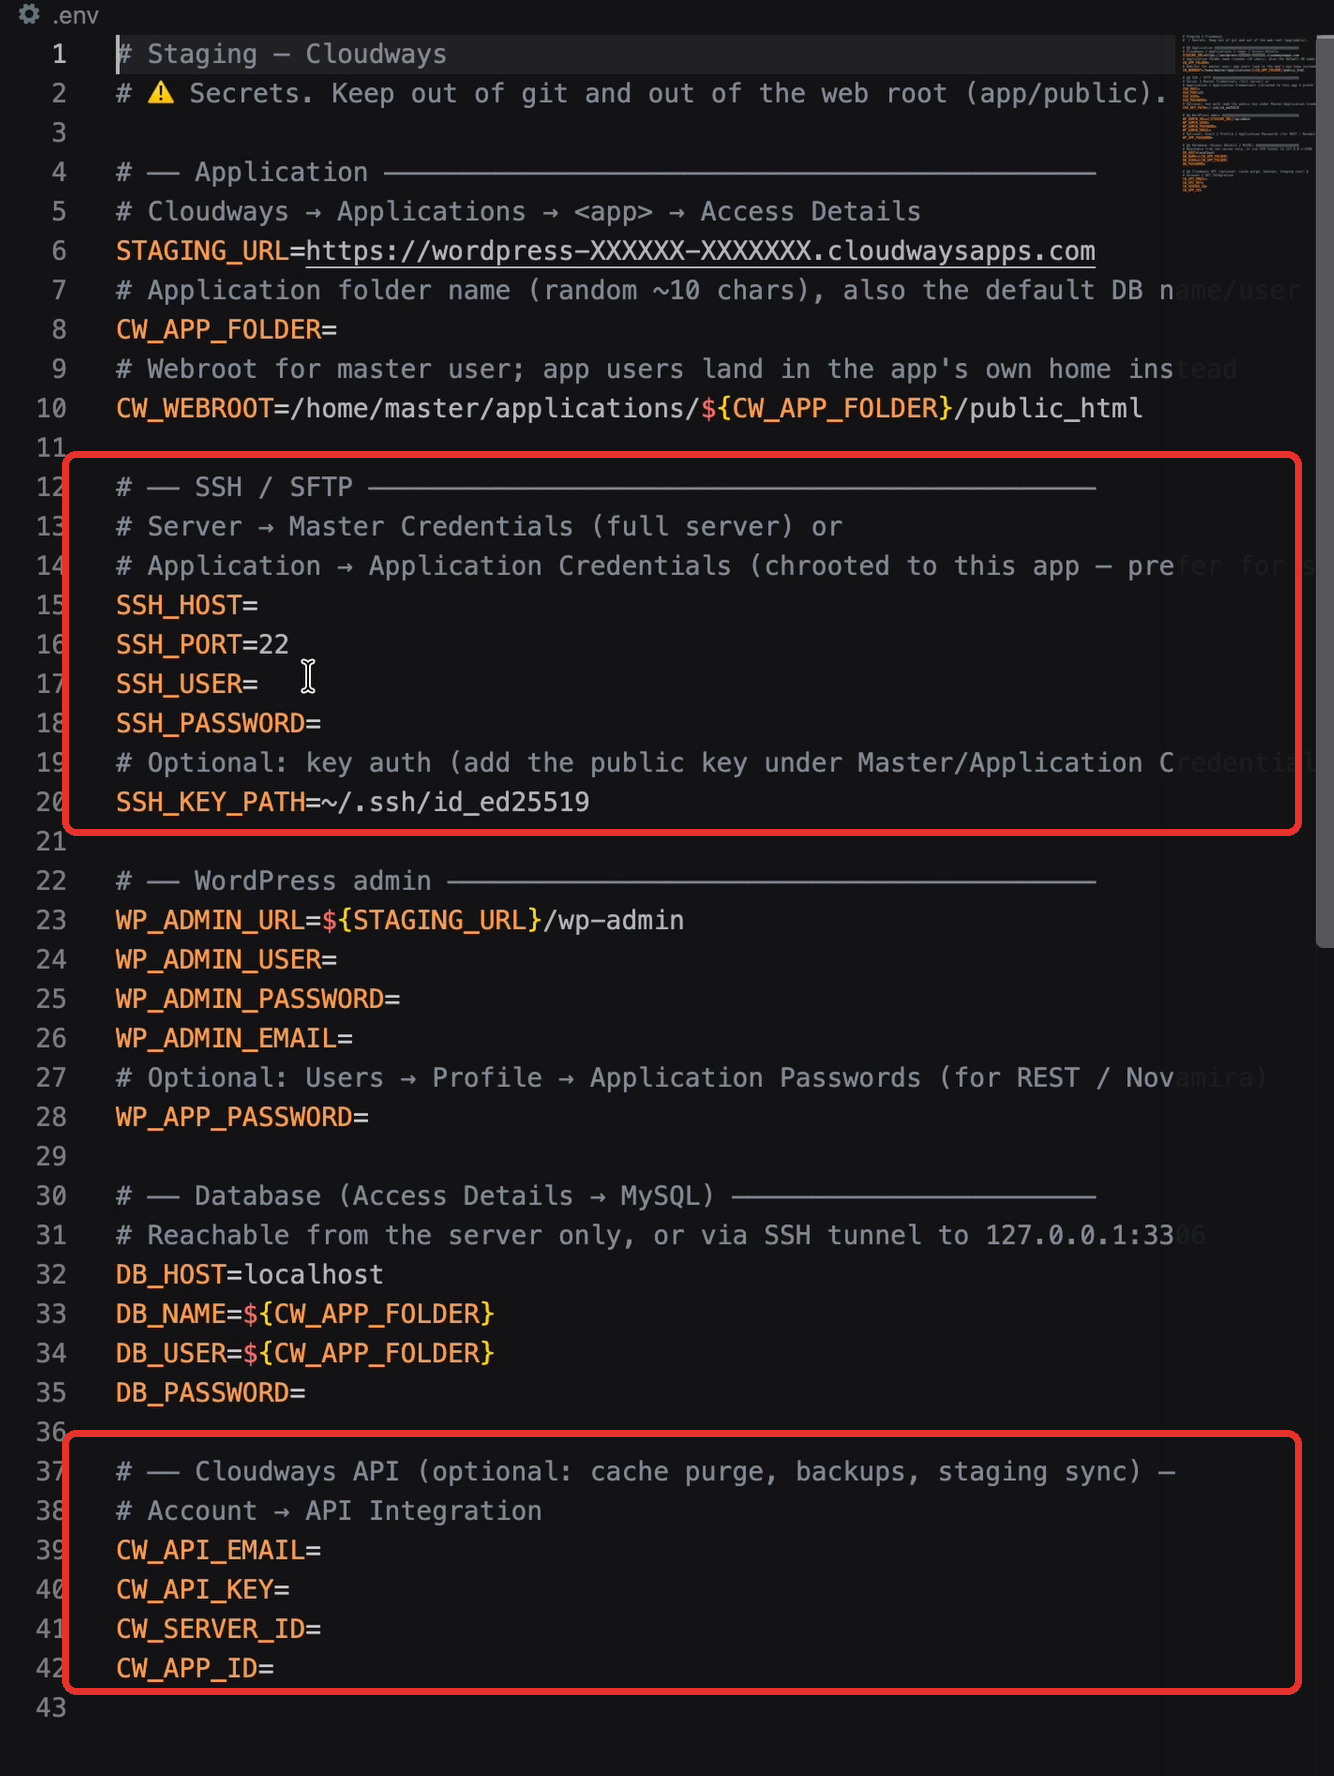
- SSH is what I mainly need to interact with the staging website.
- The admin login is nice to have, but if you don’t want to give it to AI because it’s too sensitive, you don’t have to. The same goes for the database.
- The Cloudways API lets me trigger pull and push between live and staging directly from the chat interface, instead of going to the platform.
Again, it depends on whether you want to give it this level of access, and that depends on your project.
Keep in mind that if you anonymised the data in your local setup, then by giving it access to staging, it can theoretically access all the data on the staging copy. So you may want to anonymise the data on staging as well, depending on your project.
Once you are done filling in the environment variables file, save it and close it, so that you don’t accidentally send it over to the conversation with your AI agent. Then verify everything is set up.
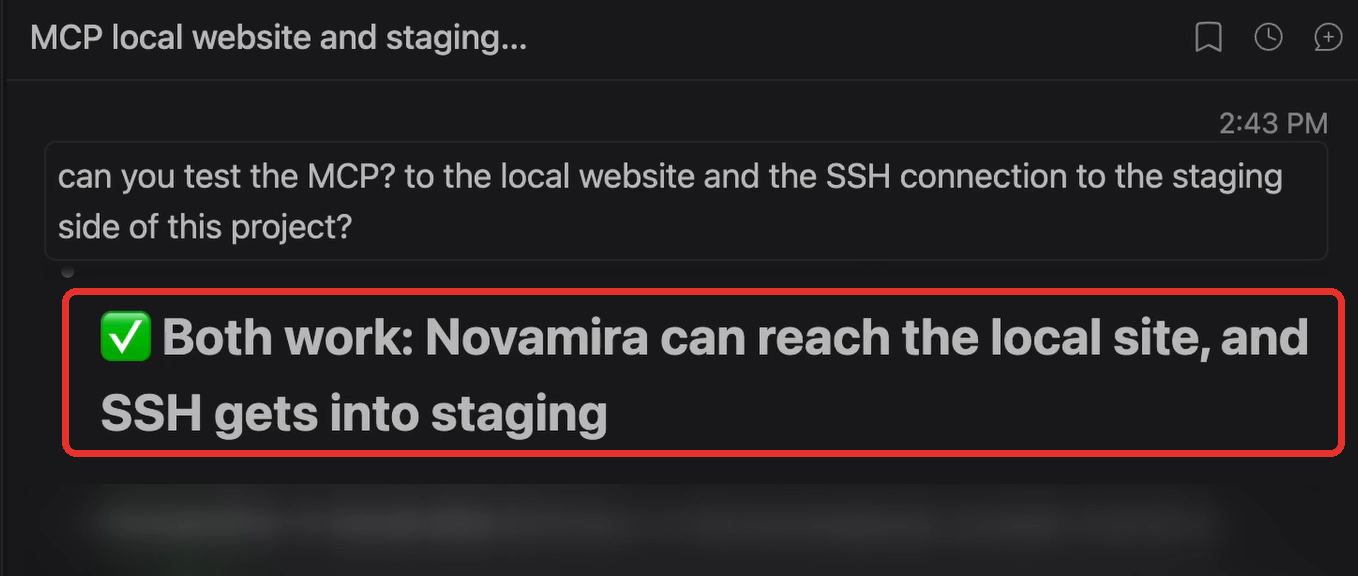
Now we are set up with the MCP abilities and the connection to the staging site over SSH, to push and pull our edits there efficiently.
Step 8: Make a change locally
Now let’s do some work. I’m streamlining this website, so that it’s easier to manage in the longer run. First, I’d like to remove the Automatic CSS plugin.
It took a while, but the Automatic CSS plugin has been removed, and the design of the front end is intact. The change is made on the local copy, so in the next step we push it to the staging site.
Step 9: Deploy the change to staging
Now I can tell Claude to deploy these changes to the staging site. If it took any longer, or there were any changes on the live site, I could at this moment pull the live site to staging again.
Deploy the changes related to Automatic CSS removal to the staging siteWhy work this way
Obviously I didn’t do all this setup just to remove Automatic CSS. Now that I’m set up, I can very efficiently test all kinds of changes to the website locally, and troubleshoot issues over SSH if needed. I can very quickly pull a fresh version of the database, or the whole website, to local over SSH.
I can also have an SSH connection to the live site. I purposely didn’t include it in this tutorial. If you know what you are doing, you can easily implement it as well. But if you are newer to this, learning about WordPress deployments and what SSH even means, it’s much safer, and recommended, to only let AI interact with the staging site this way, and to have full control over what is happening when you interact with the live site.
I’ve used this process for building custom plugins and troubleshooting various issues alongside Claude Code, while having the possibility to intervene, test, and version control the solution.
If I’m working on something narrower than the whole website, I would probably start the project inside wp-content, or directly inside a specific plugin folder, so that I’m working with limited context. I can still have access to SSH and the MCP inside that folder, but I don’t clutter my context window with all kinds of things from the whole website.
But if I’m troubleshooting the entire website, working with it as one project, I work in the top folder, like I did here. That way Claude Code has access to all kinds of different things, like the database directly if needed, or the error logs, to efficiently troubleshoot the whole website.


